To enhance sound you recorded using your audio mixer, you need to connect it to an audio interface. There are many methods to do this but care is needed as wrong connections can damage both devices. Our experts did the legwork to provide you with the best methods on how to do this.
How Does an Audio Mixer Function?
Audio mixers are also known as mixing consoles or sound mixers. These are used in combining and balancing any audio signal from sources like a microphone, recording device, instruments, or even synthesizers. The user can also add effects using the audio mixer.
Basically, audio mixers function to combine multiple audio inputs from different sources, edit to your liking, then produce a lesser number of audio outputs. Before, the final output goes straight into tapes. Nowadays, you can do the mixing using a computer.
However, you would need another device in order to have your audio stereo output readable for the computer. You’d need an audio interface for this. Audio interfaces translate the analog sound from your audio mixer into digital computer signals.
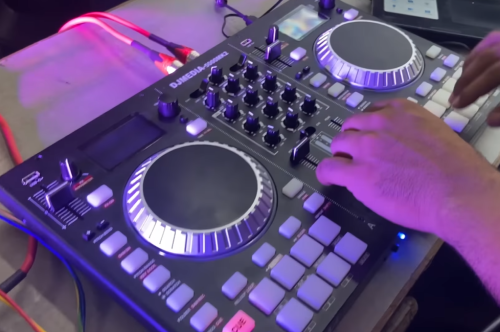
It is very important that these two devices have a good connection. Aside from that, investing in a good quality audio interface can enhance your digital recording.
Important Parts & Connections: Audio Mixer
There are main parts involved to connect a mixer to an audio interface that are essential for a high-quality home recording studio.
- Audio input: This is where audio sources are attached. Sources can come from microphone and other instrument inputs. It can also come from line-level signals of piano or keyboards. For line signals, you will have a ¼” jack input, and an XLR cable for plug microphones.
- Insert: This allows an equipment to be plugged in. It functions to connect a compressor or gate.
- Gain: It is responsible for the input level of each channel plugged into the audio mixer.
- EQ: It is responsible for the frequency of a sound. It usually comes in 3-band EQ to control high, mid, and low frequencies.
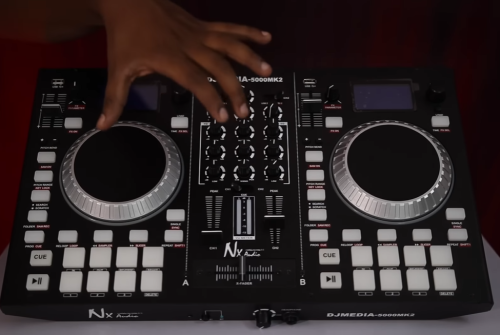
- Mute button: This allows the user to silence channels or instrument input separately.
- Channel fader: This is the main control for mixing sounds that will go to the line level output, recording equipment, or to the computer. It has a control for each channel input.
- Master faders: These are responsible for the signal level sent to the main outputs, like that of a public address (PA) system.
- Master Outputs: This is where all the edited audio comes out. It is also where cables of the equipment that will accept the audio output are plugged and where cables of the audio interface are connected. The USB output of the audio interface is then connected to the computer using a cable plugged in the computer’s USB port.
Connecting a Mixer to an Audio Interface
An audio mixer can be of two types, either an analog mixer or a digital mixer, both of which can mix audio signals to produce an output of good sound quality. It is important to connect a mixer to an audio interface if you want to have a home studio that you can use in your live streaming.
Our sound engineers summarized the steps so you can successfully connect the mixer to the audio interface to achieve that dream workstation. But before starting, make sure that your cables, mixer, audio interface, and audio sources are ready.
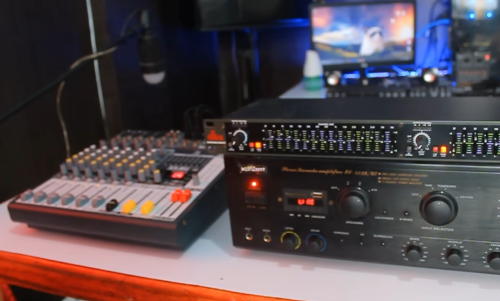
This is a pretty straightforward process. Once everything is ready, you may start to connect an audio interface to the audio mixer.
- Connect your audio sources like a microphone, line-level inputs from devices, to your audio mixer.
- Choose the cable that you want to use to connect your audio mixer to the audio interface. Choices range from XLR cables, RCA connectors, or ¼” audio cables.
- Plug the chosen cable into the mixer output and into the audio interfaces’ input.
- Connect your audio interface to the computer.
- Download and install the Digital Audio Workstation (DAW) software. This is used for digital recording and editing of audio files.
- Press record to start recording.
3 Ways to Connect a Mixer to an Audio Interface
Cables used in this setup are classified into two types: balanced or unbalanced cables. The cable type is based on the way the signal is carried across the cable. Each type has its own advantages and disadvantages. You just have to pick the right cable for your setup.
#1: XLR Cable
The XLR cables are considered as balanced cables. These cables have two wires that carry the audio signals. The best thing about XLR cables is that distortions and interference from any external signal is not included in the final output.
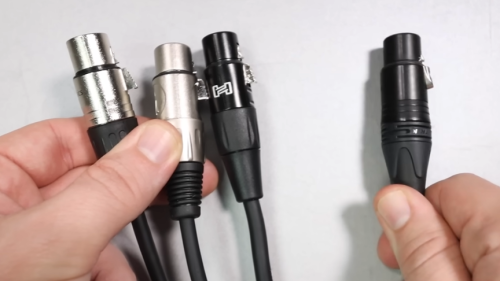
If you are going to use a long cable, then balanced ones are more recommended. In professional setups like concerts and studios, XLR cables are used because it minimizes any distortion [1] in the sound, hence better recording results.
However, the cost is one disadvantage of this cable type. Aside from that, the minimum distortion is only achieved if all cables are balanced at the same time.
#2: ¼ Plugs
¼ plugs or ¼” cables are generally considered unbalanced cables. The sound quality can be easily affected by interference along the cable, hence, it should not run for more than 10 feet.
This is not usually used in concert venues due to the possibility of sound distortion, but can be used in a home studio as the distance between the equipment is not too large.
Nowadays, there are also balanced ¼” cables called TRS cables. They look like the regular ¼” unbalanced cables but with an extra ring on its shaft.
#3: RCA Cable
The RCA cable is also classified as unbalanced cable. Like the ¼” cables, the digital signals are easily affected by distortions along the cable. Hence, it should also not run for any more than 10 feet.
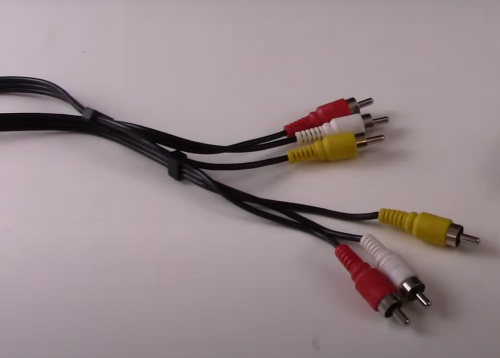
This type of cable is also relatively cheaper than XLR cables and is compatible with older analog devices.
If you have not invested yet in an audio interface and an audio mixer, then an all-in-one sound board can be an option. This one has an audio mixing board with a built-in audio interface. You can directly plug your line inputs to the sound board then connect it to the computer.
This device is more costly but it eliminates the need to connect the audio interface to the audio mixer.
Best Audio Interfaces Available
An audio interface is necessary to be able to connect the audio recording from the mixer into the computer. It can accommodate analog audio line input from microphones and other devices and convert it to digital output.
An audio interface is important to be able to digitally record sounds coming from analog sources. It usually has two inputs so you can connect two audio sources.
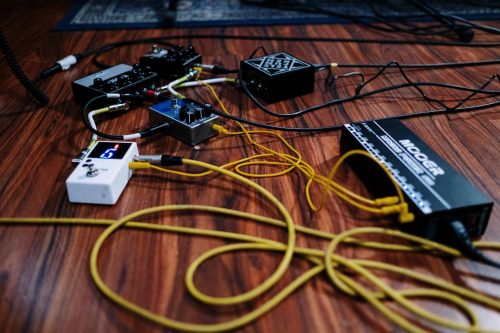
Here are the best audio interfaces available according to our experts:
- Focusrite Scarlett Solo (3rd Gen) USB Audio Interface with Pro Tools
- PreSonus AudioBox
- BEHRINGER Audio Interface
- IK Multimedia iRig Stream 2-channel recording & live-streaming audio interface
FAQ
Do you need an audio interface with a mixer?
Yes, you need an audio interface with a mixer if you plan to digital edit and record your sounds. The signal from an analog stereo mix will not be read immediately by a computer so you have to connect the two using an audio interface.
You will also need an audio interface when you want to digitally record device inputs coming from microphones, guitars, or any musical instrument.
Conclusion
In order to digitally record sound coming from analog sources, you have to connect a mixer to an audio interface, then to a computer. Our experts suggest using cables like ¼” cables, RCA, or XLR cables to connect the mixer to the audio interface.
Looking for the best device to improve your sound experience? Well, you can check out these products below:
